Setting Up Mods for the RSDKv4 Decompilation
TODO: screenshots
Note
This guide assumes you have already set up the RSDKv4 Decompilation.
Decompiled Scripts
Info
The decompiled scripts are required for script mods to work. When a script mod is enabled, these scripts are compiled by the decompilation at runtime and allow custom script code to function in-game.
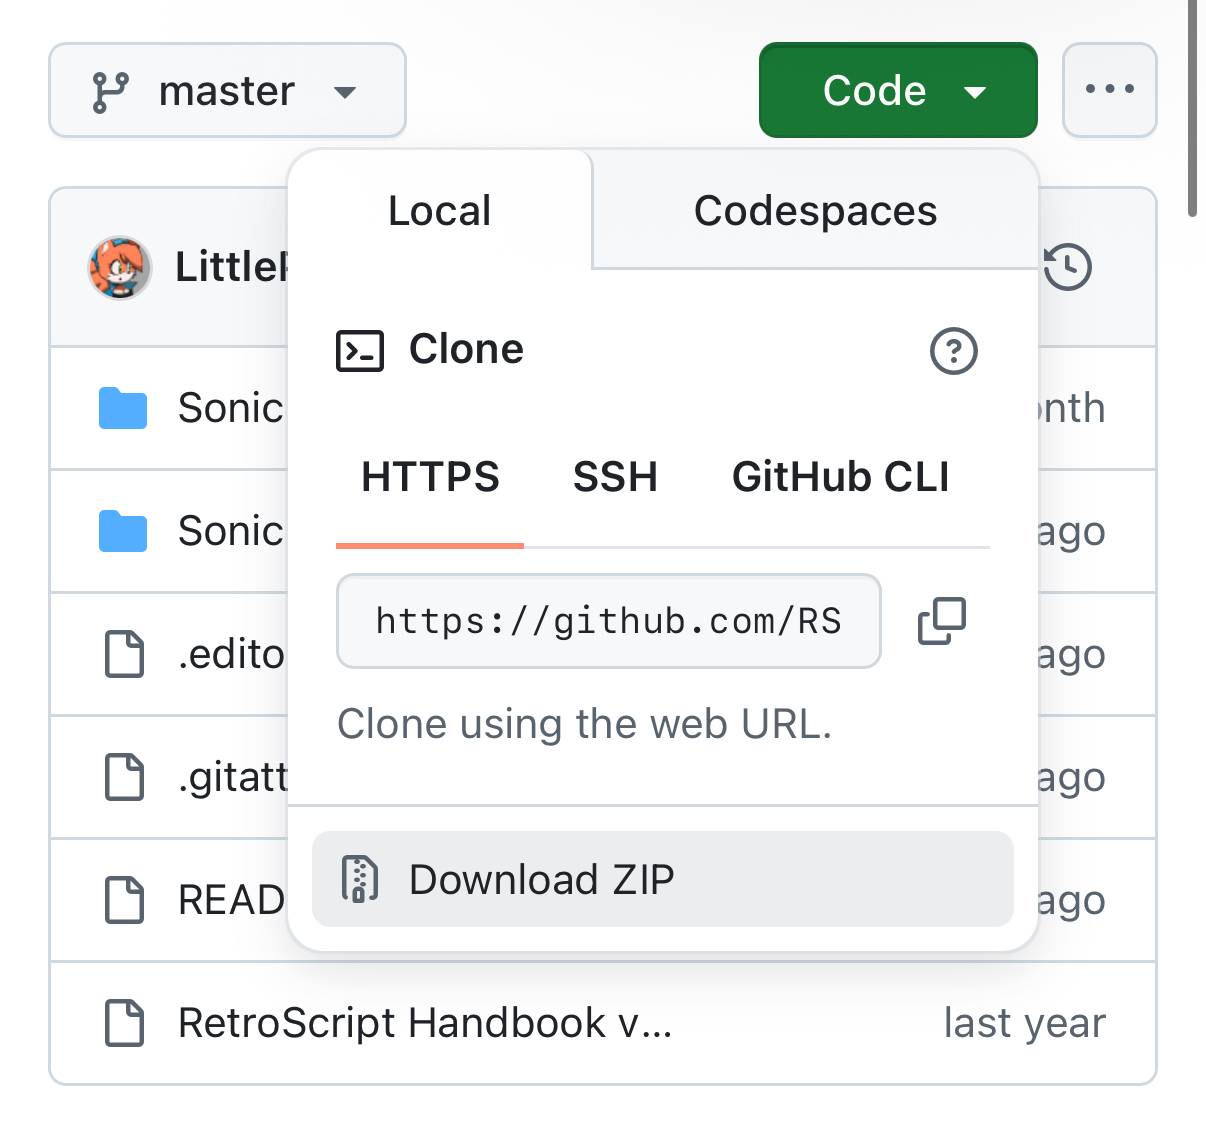
Go to the RSDKv4 Script Decompilation GitHub repository and download the master branch by clicking the green Code button, then selecting Download ZIP in the drop-down menu.
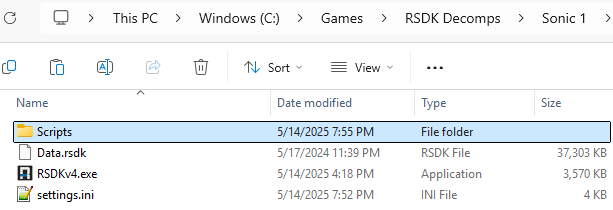
Extract the ZIP file, then copy the Scripts folder for the appropriate game into the decompilation directory.
If you'd like to force the engine to always load the decompiled scripts, you can do so by enabling TxtScripts in settings.ini.
Mods Folder
Warning
Due to the original engine not being designed with mod support in mind, many mods might not be compatible with each other; using multiple mods that edit the same files/scripts can easily break the game. Only use mods together if they are completely independent of each other or are designed to be compatible with each other.
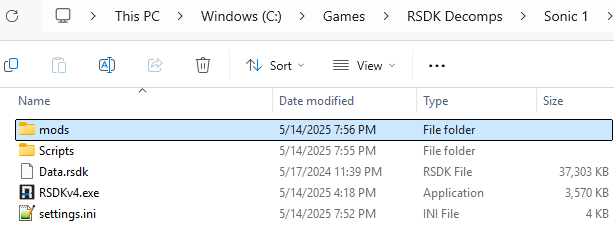
Create a folder named mods in the decompilation directory.
Download and extract the mod(s) you'd like to use into this folder. The file structure should look like this:
Using the Mod Loader
Enable the Dev Menu, then while the decompilation is running, press Esc to open the Dev Menu. You can also select it in the pause menu or the Help & Options menu.
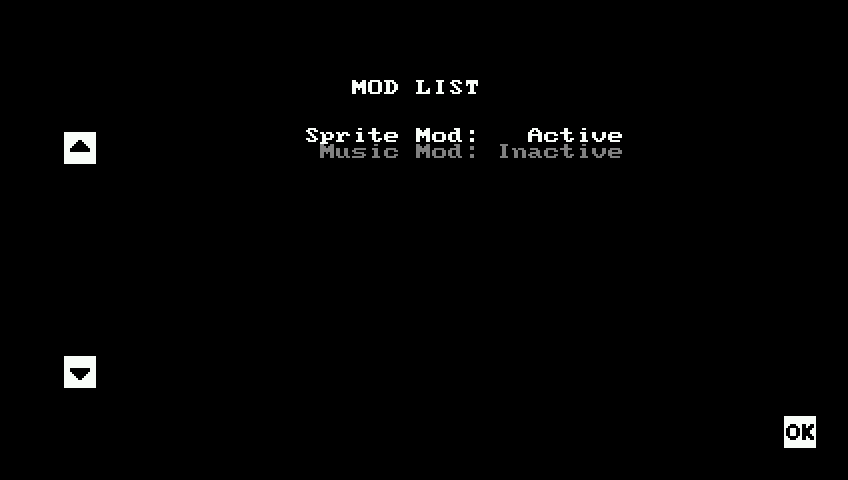
When the Dev Menu is open, choose MODS to open the Mod List.
To control the menu, press or to select a mod, and press to toggle the mod on or off.
How do I change mod priority?
Mod priority is determined based on the order of the mods in the Mod List; mods get loaded from bottom to top. You can shift a mod up or down in the Mod List by holding while pressing or .


